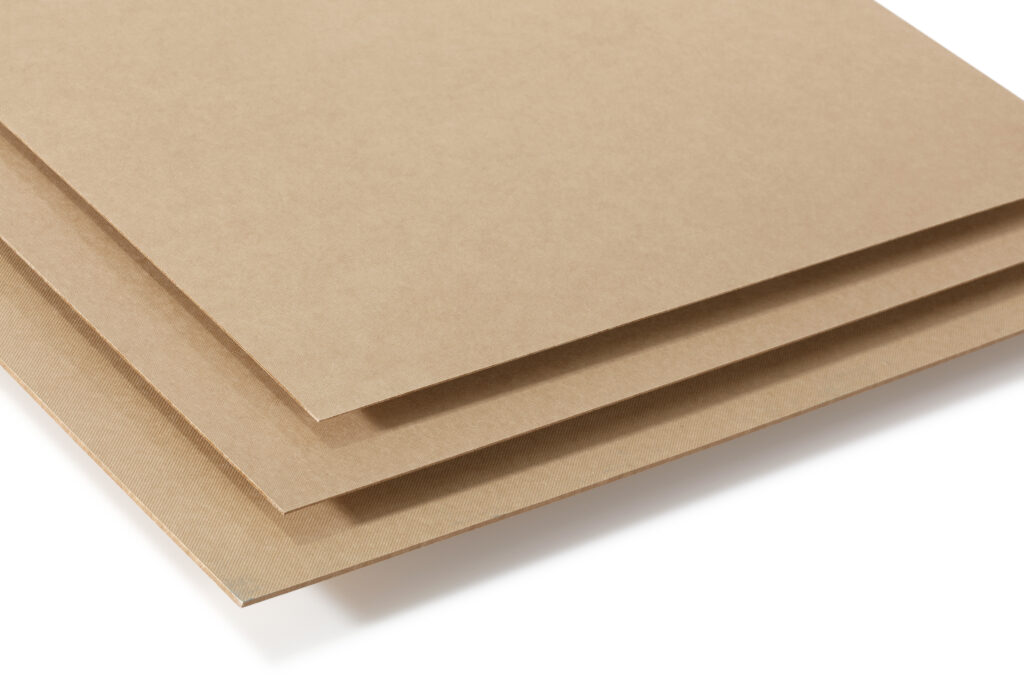
kraftplex is a new type of wood-based material made from 100% pressed cellulose fiber.
The material can be processed like wood and other pressed boards. Nevertheless, there are some special features.
Based on best practice experience, we have collected detailed tips and advice for successful kraftplex processing.
Credit: Snijlab / snijlab.nl
The basics of working with kraftplex
Dry Storaging
kraftplex is in exchange with the humidity of the surrounding air. We recommend storing the panels horizontally and dry and giving the material time to acclimatize.
Lasercutting
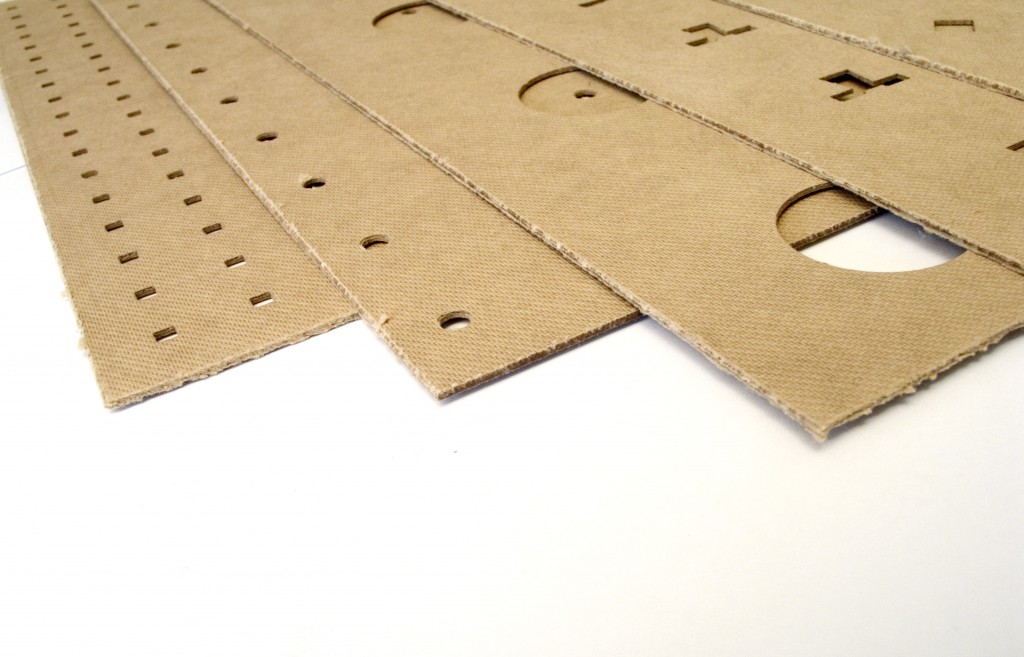
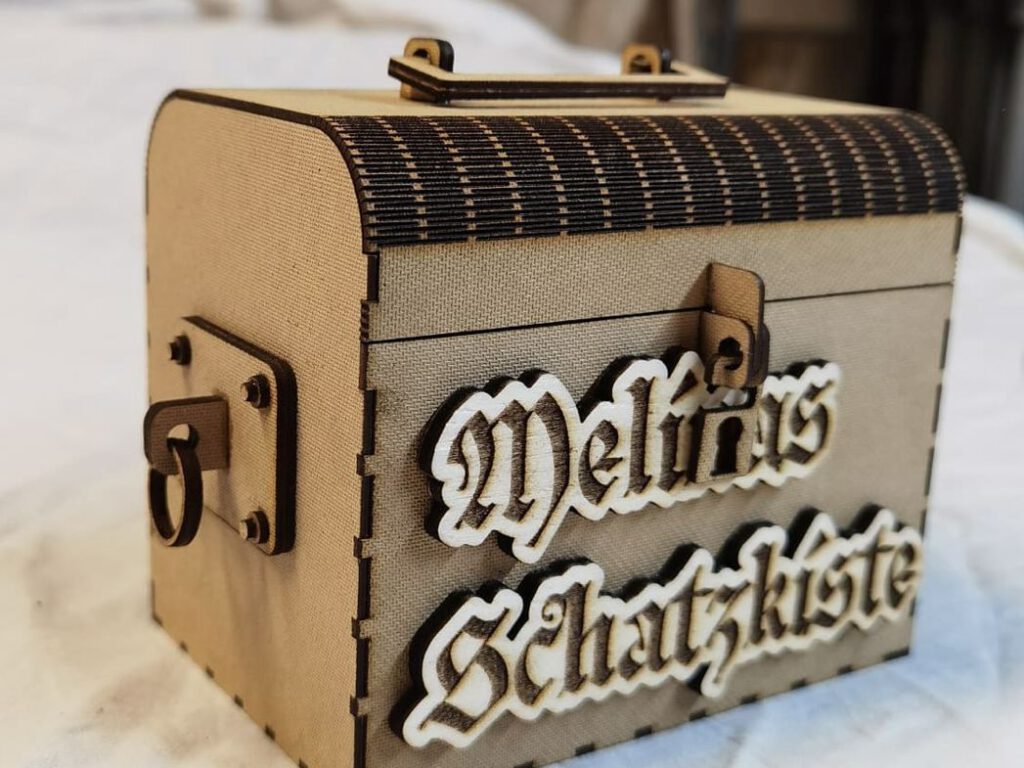
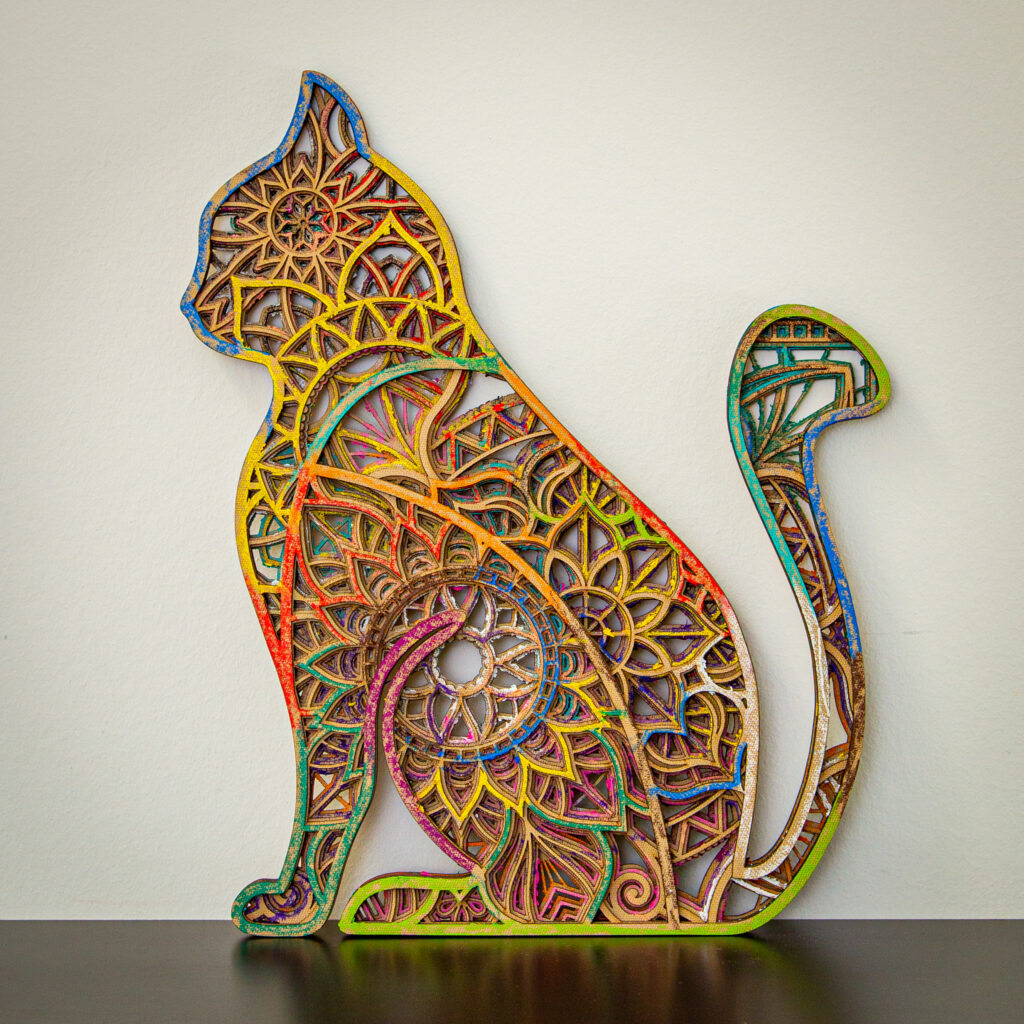
It is best to cut individual plates and ensure the correct focus. This way, there are almost no sooty edges. Filigree cutouts are possible.
Cutting
You can use a rip saw, panel saw, band saw and jigsaw. For material thicknesses up to 0.8mm, high-quality scissors and plotters usually work as well.
Gluing
The usual wood adhesives can be used, e.g. contact adhesives, one- and two-component adhesives. Prefer adhesives with low water content.
Sanding
kraftplex can be sanded in a similar way to wood. Most common sanding systems can be used, from cylindrical sanders to sanding fleece.
Drilling
Holes up to 15 mm diameter can be drilled directly with twist drill. Pre-drill larger diameters and finish with tenon cutter.
Coating
All paints and glazes used for wood generally also work for kraftplex. Please ensure that the paints contain a high proportion of filler and treat both sides.
Forming
kraftplex can be permanently formed by means of edging, embossing, deep drawing and bending. Thermal energy and steam help. With the right laser cutouts, living hinges are created.
Now it's time for the details!
The project is in the starting blocks, now very specific questions arise.
How do I optimally prepare the material for processing?
How do I choose the right width of the circular saw blade?
Which sustainable colors can I use for surface treatment?
What do I have to pay attention to when I use a “living hinge” made of kraftplex?
You will find the right answers to these and many other questions in the following detailed instructions.
First Steps
For storage and preparation of kraftplex we recommend the following steps:
Storing
Kraftplex is in exchange with the moisture of the surrounding air. kraftplex changes its dimensions when absorbing and releasing moisture.
We recommend that kraftplex be stored in a dry and horizontal position and possibly weighted down.
The dimensions of kraftplex may change during acclimatization on site. Check kraftplex boards for squareness before installation.
Preparation
kraftplex should be brought into the room intended for use and unpacked approximately 2 days before installation.
kraftplex will thereby assume equilibrium humidity and will then hardly change during installation.
Ideally, the humidity should be as stable as possible at a value between 40 and 60%.
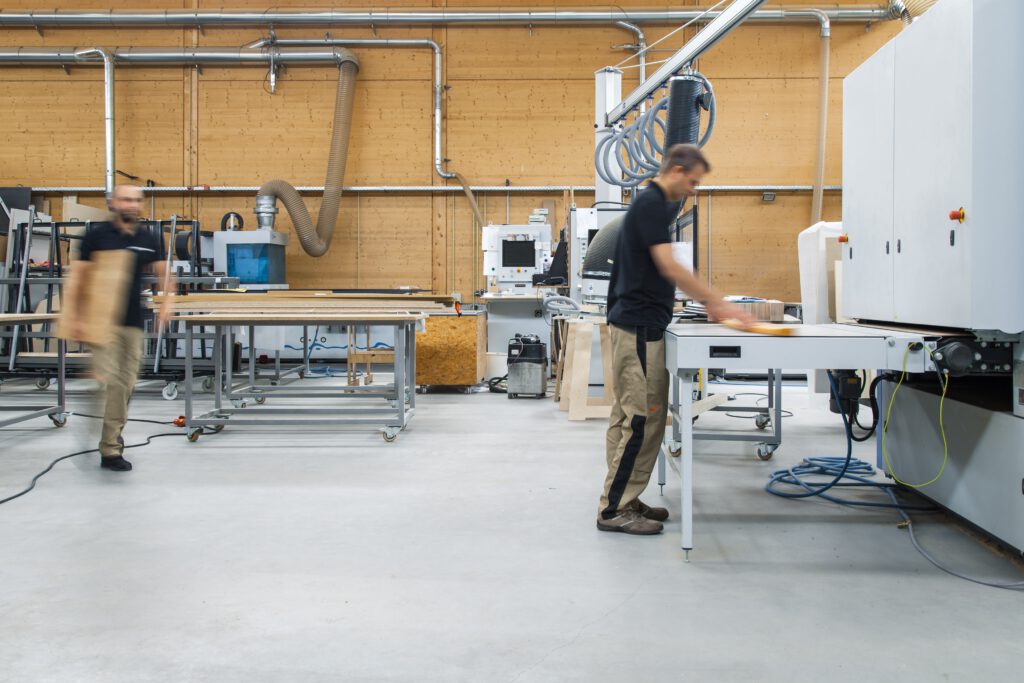
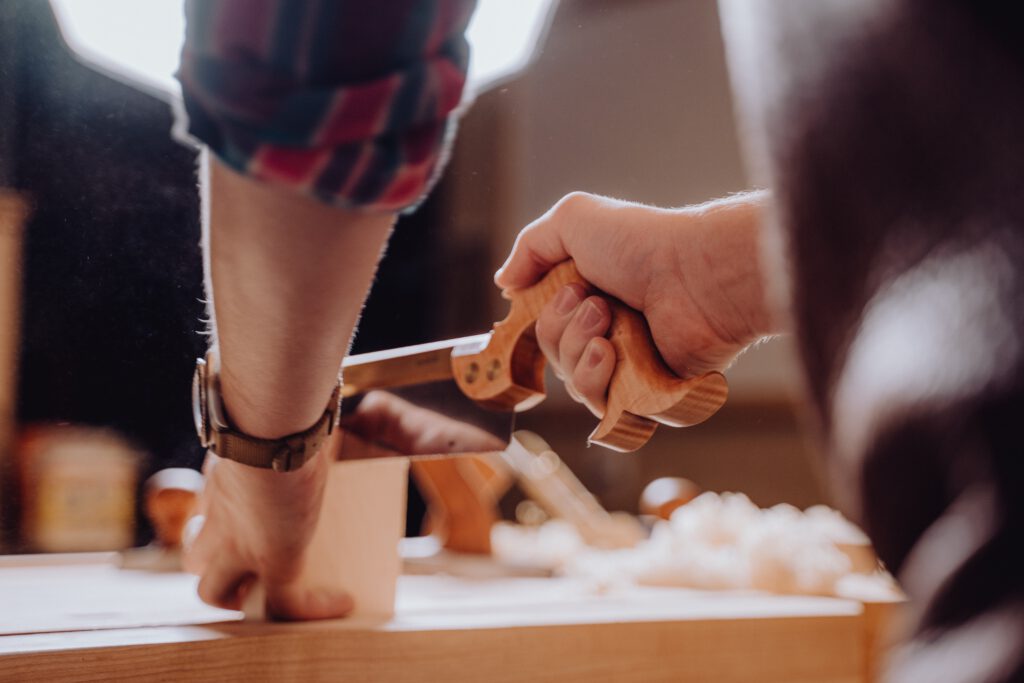
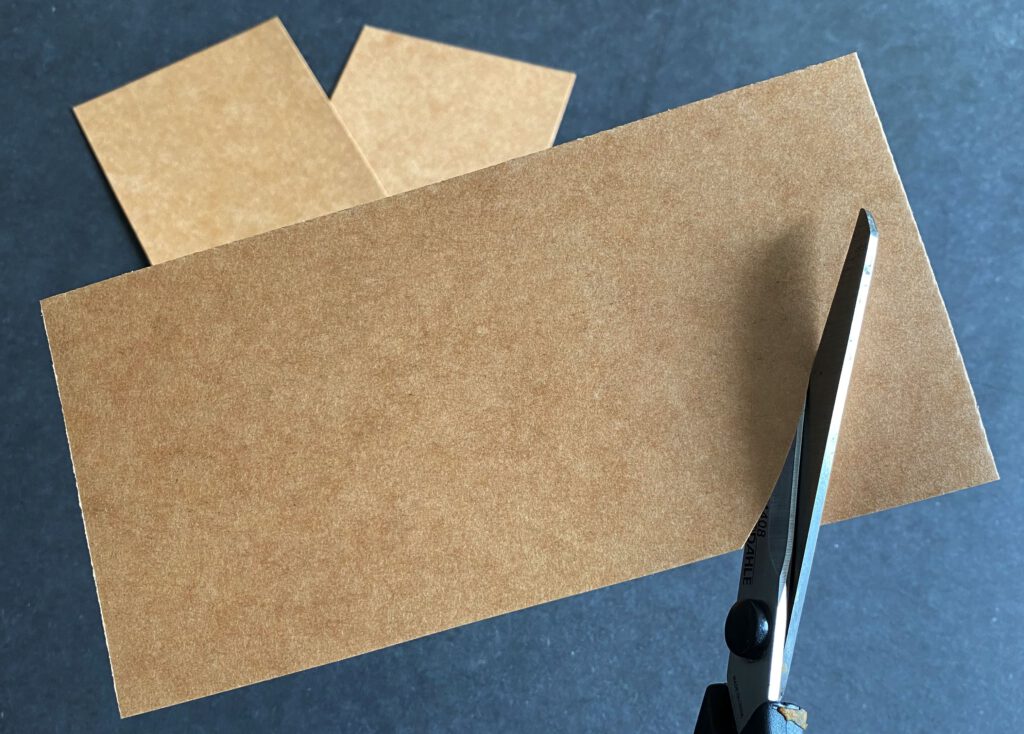
Cutting
kraftplex can be cut using various methods:
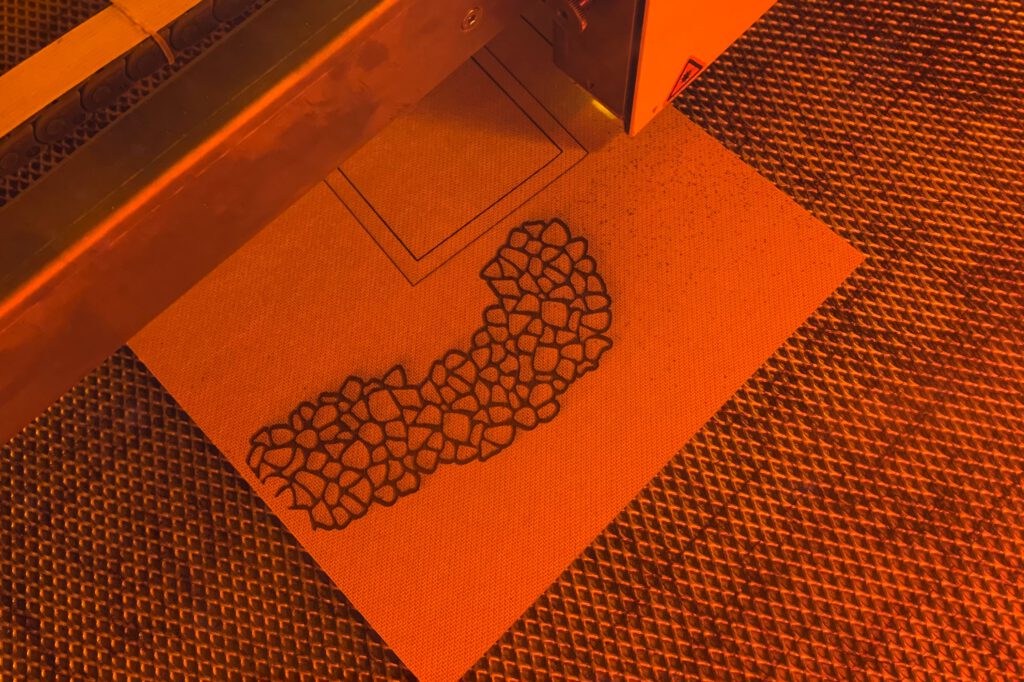
Laser or water jet
Make sure that the focus is set correctly. With higher material thickness and a device with lower power, it may make sense to cut in two passes. You can find out the exact parameters from your respective laser manufacturer.
If the focus is set correctly, there will be virtually no powder burns or burn marks.
Cutting stacked kraftplex sheets can lead to increased burn marks when processed with lasers and to unclean cut edges when processed with waterjet.
Credit: Marcel Dennhardt
Credit: Unsplash / Pickawood
Circular or panel saw
Trapezoidal saw blades up to 450 mm diameter are suitable. The ideal cutting speed is between 3300 and 3900 m/min.
The saw blade should protrude a maximum of 5 mm above the table surface. The table insert is ideally made of hardwood.
Band saw
The ideal cutting speed is between 1500 and 1800 m/min.
The saw band has a thickness of 0.8 to 0.9 mm and a width between 20 and 25 mm and has 4 teeth per 1″.
Jigsaw
kraftplex can be cut with wood and metal saw blades, but also with toothless special blades.
Credit: Unsplash / Alexander Bailey
Scissors & Plotter
Some kraftplex grades – especially kraftplex CL in 0.5mm and kraftplex FO in 0.8 mm thickness – can also be cut with scissors.
Pneumatically or electrically driven scissors or knives are suitable. For kraftplex CL, normal household scissors are sufficient.
We have also seen successful applications with plotters, although preliminary tests are advisable in each case.
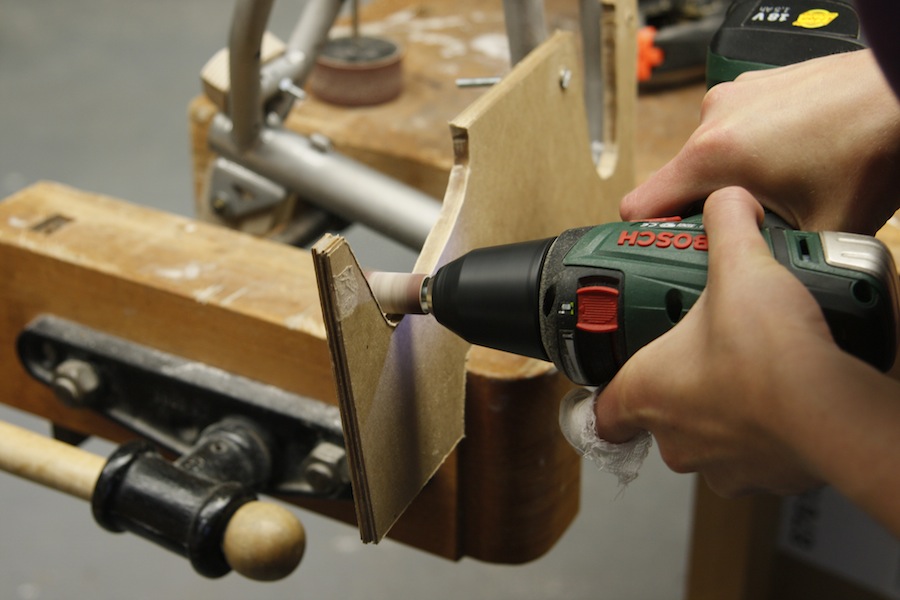
Processing
Here you will find instructions for grinding, drilling and gluing kraftplex:
Sanding
kraftplex can be sanded in a similar way to wood. Belt and cylindrical sanders are suitable, whereby attention must be paid to the direction of insertion.
Orbital, belt, eccentric and disc sanders can also be used.
Brush sanding machines or sandpaper, sanding sponges or sanding fleece are suitable for surface sanding, e.g. after priming.
Drilling
Holes up to a diameter of 15 mm can be drilled directly with wood drills. Larger diameters must be predrilled and reworked with the tenon cutter.
Punching
Recesses can be produced with hand punches or machine punching tools. Perforated plates can be produced in this way, for example.
Gluing
The usual wood adhesives can be used for bonding kraftplex. Good results have been achieved with contact adhesives and one- and two-component PUR adhesives.
PUR-based assembly adhesives and also assembly foam can be used to assemble kraftplex.
For bonding to substrates in presses, good experience has been gained with two-component PUR adhesives.
Due to the moisture sensitivity of kraftplex, adhesives with low water content or non-aqueous adhesives are preferable. We recommend carrying out tests on sections or samples. We will be happy to provide samples for bonding tests.
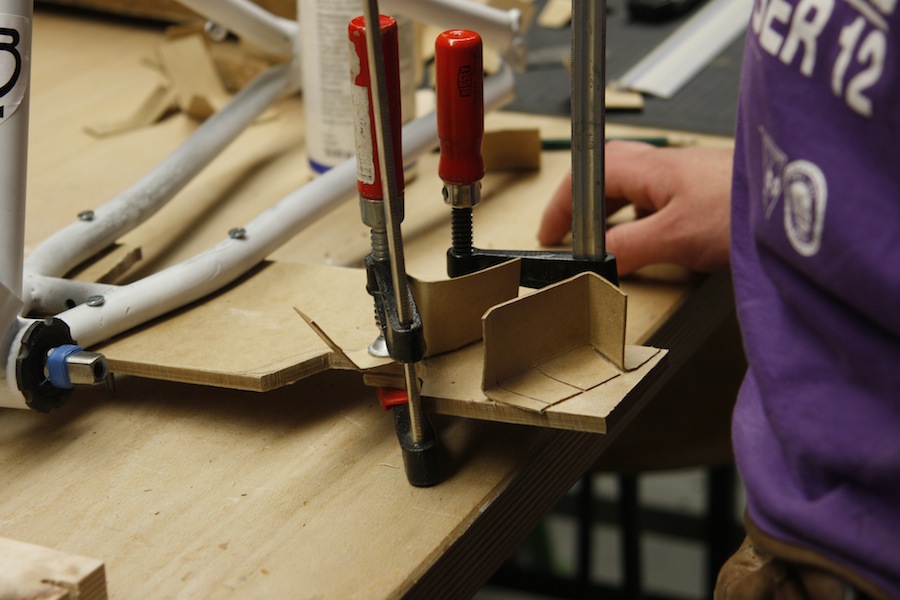
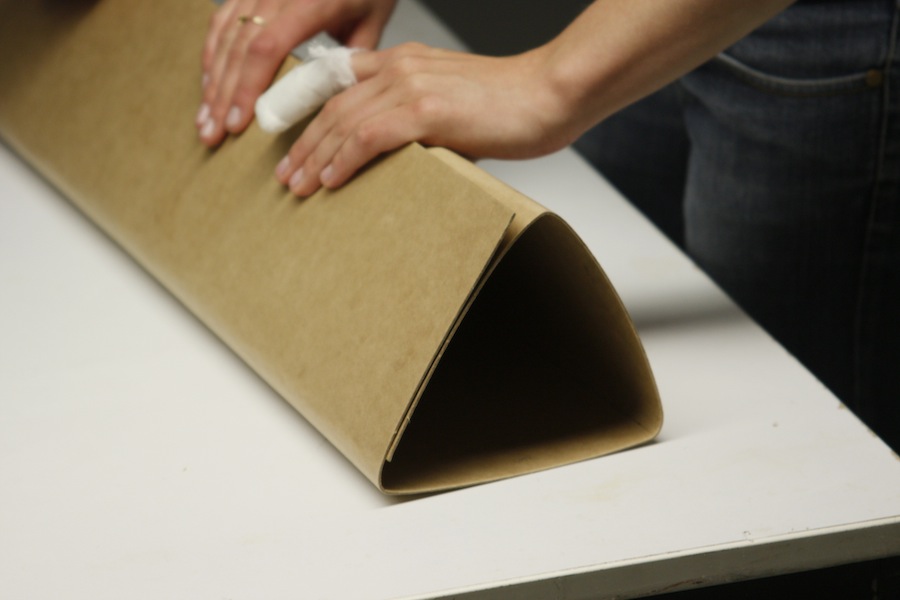
Bending & Forming
kraftplex can be edged by means of pressure. Metal edging benches and workbench edges can be used for this purpose.
It is advantageous to slightly moisten the areas to be bent. This makes it easier to bend the material and prevents cracks. The material should remain fixed until it is completely dry.
In addition, it can be helpful to heat the material in the area of the bend to 50-80 degrees using a hot air gun. Steam can also be used for this purpose.
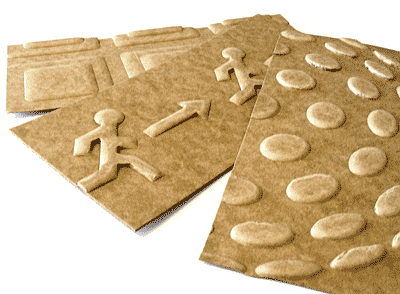
Embossing
To further stabilize the material or insert decorative elements, kraftplex can be embossed.
For this purpose, embossing dies from the print shop or, for industrial applications, rubber pad pressing are used.
Here, too, the material can be heated and slightly moistened for optimum results.
Credit: Instagram / @schlaudt.design
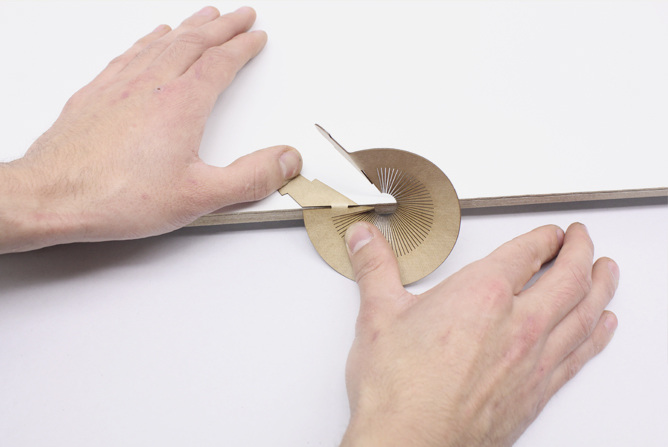
Living Hinges
A “living hinge” is a flexible hinge made of the same plate as the two rigid parts it connects.
It is typically laser cut in a special pattern to allow the rigid parts to flex in the area of the hinge.
kraftplex is particularly well suited for this type of moving edge due to its high resistance to fracture, even with intricately lasered structures.
Laser templates for living hinges are available in various decorative patterns that round off the design of the kraftplex project.
Surface treatment
Tips for surface treatment of kraftplex can be found here:
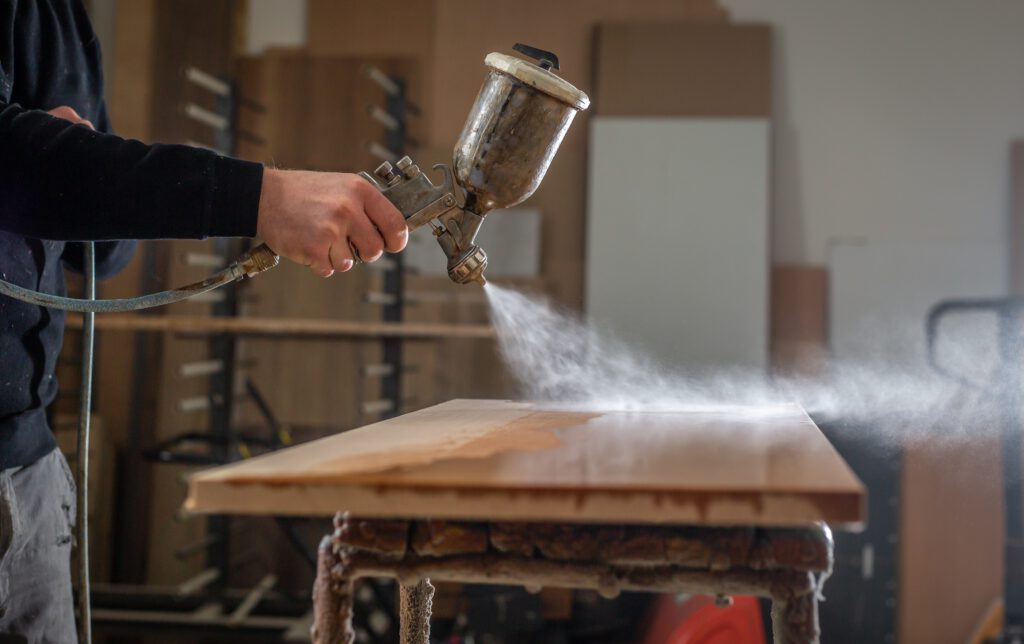
Coating
In principle, kraftplex can be coated with all coatings that are also offered for wood and wood-based materials.
Since kraftplex is an open-pored and absorbent material, it is advisable to apply a barrier primer in advance for opaque coatings.
In the case of water-based coatings, it is essential to carry out preliminary tests due to kraftplex’s sensitivity to moisture.
We recommend application by spraying. Care must be taken to ensure that the edges are adequately coated.
To avoid uneven moisture release and thus deformation of the boards after coating, kraftplex should always be coated on both sides.
For details on the processing of the selected products, please refer to the manufacturers’ data sheets.
Credit: Tobias Steinmetz / @ausprobiert_official
Credit: Anton Meinelt / @schwaben_murks
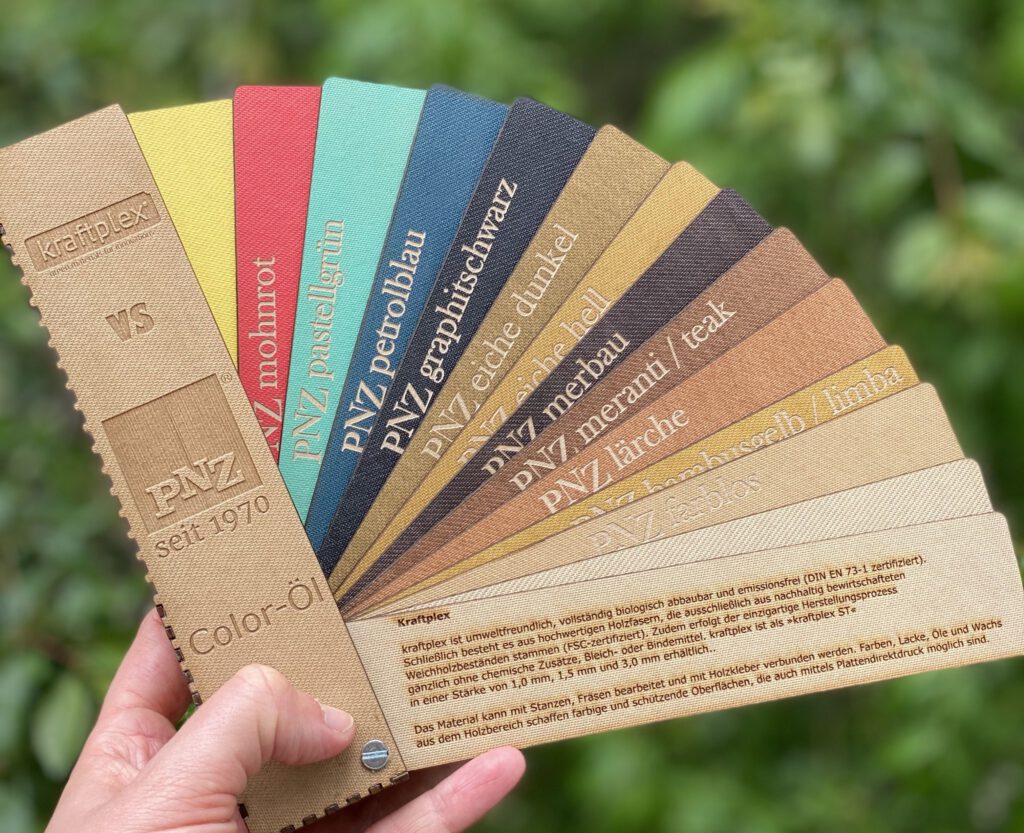
Sustainable painting and glazing
The following surface treatment products, which are also used in wood preservation, are particularly suitable for sustainably coating and coloring kraftplex:
– Water-thinnable, layer-forming glazes and stains.
-Color oils and colorless oils on a natural basis, such as Color oil from PNZ.
-Waxes
-Lime paints
-Chalk paints
Industrial Coating
The following product categories have been successfully used in the field of industrial coating on kraftplex and wellboard:
– One-component synthetic resin coatings mainly for clear coating with different gloss levels.
– Combination coatings based on polyurethane and acrylic resins. These products have given the best results so far.
– Two-component polyurethane resin varnishes.
– Products for sealing floor coverings based on polyurethane and acrylic resins.
Credit: Matthias Röder / Offene Werkstätten
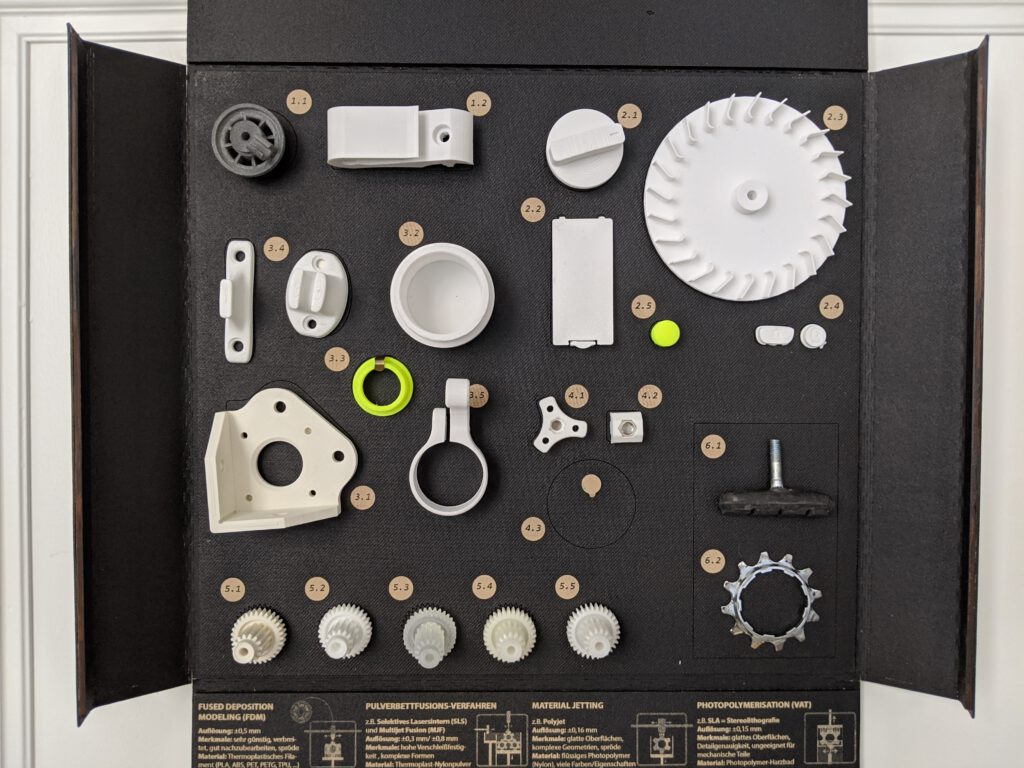
Printing
kraftplex can be printed very well. UV direct printing and screen printing have proven to be suitable processes. Optimum color results can be achieved particularly with direct plate printing by underprinting white.
A final optional protective coating, applied during the printing process itself or afterwards, increases the color stability and robustness of the surface.
For large-area applications, we recommend carrying out preliminary tests, as the material may be deformed if varnish and ink are applied to one side.
Fire protection
Commercially available chemicals can be used to improve the fire behavior of kraftplex (B2). When applied in accordance with the regulations, a classification according to DIN 4102 B1 can be achieved with such products.
Guidelines for the application of such products can be found in the manufacturers’ data sheets. Care must be taken to ensure that the application is as homogeneous as possible and that it takes place before the material is installed.
After treatment, the kraftplex must be dried again and ideally weighted down to prevent warping of the material.